
I’ve been using the TP-Link Archer C6 router for my home network setup for a while now, and I must say, it’s a fantastic piece of equipment for the price I paid. Here’s my setup and experience:
Devices:


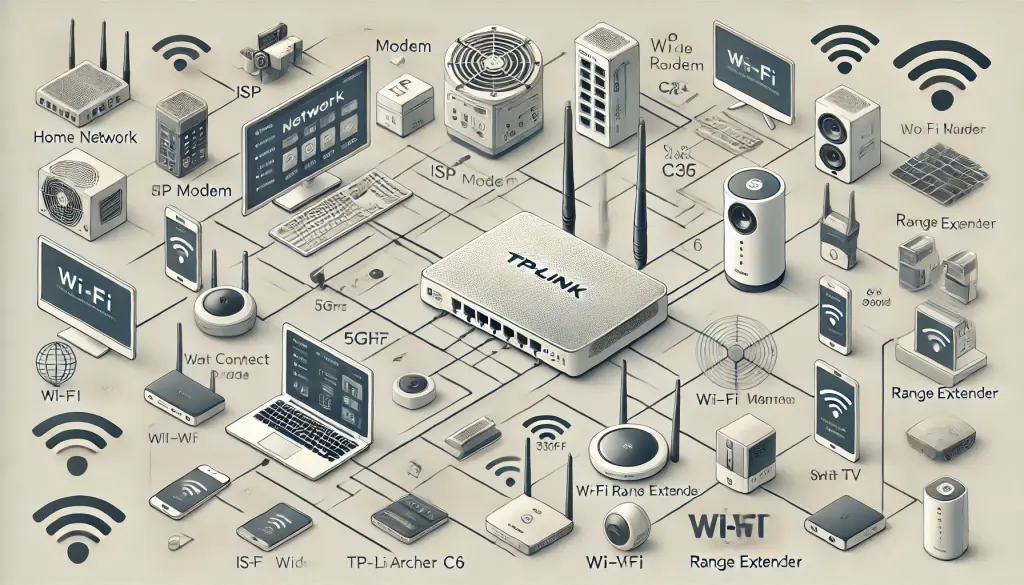
Network Setup
My network flow looks like this: ISP (Modem) → TP-Link Archer C6 (Router Mode) → TP-Link RE305 Extender in Mesh Mode
I have connected various devices to the network, including IoT devices, laptops, mobile phones, a WiFi camera, and a smart TV. The mesh network created with the Archer C6 and TP-Link RE305 extender covers my 900 sq. ft. home seamlessly, providing strong and consistent Wi-Fi across all rooms.
The Wi-Fi is set to Smart Connect mode, meaning both the 5GHz and 2.4GHz bands are merged under the same SSID. This allows devices to automatically connect to the most suitable band, which improves overall network performance without the hassle of managing separate networks.
Note: RE 305 Extender officially supports TP-Link Archer C6 WiFi router. However, please check the compatbility before you buy any other device
Router vs. Access Point Mode
Although the Archer C6 supports Access Point mode, I kept it in Router mode. Here’s why: Switching to Access Point mode disables several important features, particularly the mesh network functionality, which I needed to keep running smoothly with the TP-Link RE305 extender.
Instead of using the WAN interface, I connected the ISP’s modem to one of the LAN ports of the Archer C6. Both the modem and Archer C6 are on the same network (192.168.1.0/24), and I’ve disabled DHCP on the ISP modem and enabled it on the Archer C6. This allows all devices connected to the Archer C6 to use the ISP’s router as the gateway directly.

DHCP Configuration

Though TP Link Device will show the Internet disconnected. Please ignore it. The status will look like below

Static Routing and Network Configuration
As mentioned above, the ISP router is the direct gateway for the client devices. so TP-Link is not routing anything for connected devices
However, TP-Link Archer C6 itself needs to connect to the Internet for time sync and upgrade firmware. To ensure seamless operation, I manually added a static route on the Archer C6 to direct traffic to the ISP modem. Though it is not a mandatory configuration
The setup works without issue, and I’ve been able to meet my network requirements while keeping everything on the same subnet. While I could have used the WAN interface and created separate subnets (e.g., 192.168.0.0/24 for the Archer C6), I needed everything to be on the same network for simplicity.
Performance
The performance has been excellent. I’m using an ISP bandwidth of 130 Mbps, and the Archer C6’s 5GHz band delivers an impressive throughput of 700 Mbps on average. This easily meets my needs for streaming, gaming, and general internet use across multiple devices. The network remains stable even with multiple devices connected at the same time.
Security and Additional Features
The Wi-Fi is secured using WPA2-PSK-AES, which provides strong encryption. I’ve also set up the router to auto-reboot daily, ensuring that it runs smoothly without any hiccups.
Conclusion
Overall, I’m extremely satisfied with the TP-Link Archer C6. It offers solid performance, wide coverage, and essential features like Smart Connect and mesh networking, all at an affordable price point. For anyone with a similar home setup, I highly recommend it.
This configuration has given me a reliable, well-performing home network, and I believe the Archer C6 offers excellent value for the money.
For more blogs check our website

Whether you’re looking for troubleshooting tips, deep dives into systems architecture, or the latest in cloud computing, At Yourcomputer.in, I’m here to help you navigate the evolving tech landscape. Let’s connect, learn, and grow together!
📧 ravi.chopra1709@gmail.com
- Why should you automate Active Directory cleanup? - 17 June 2025
- Troubleshooting: Unable to Add Instance Failover Group to Azure SQL Managed Instance - 4 March 2025
- 10 Azure Virtual Desktop (AVD) Cost-Optimization Strategies for 2025 💡💰 - 22 February 2025