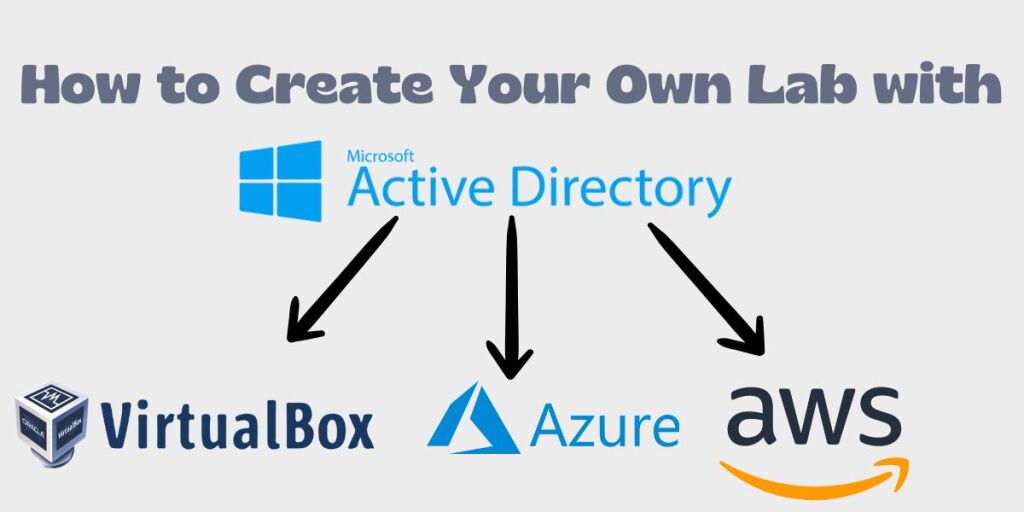
How to create your own lab with Active Directory?
Are you looking to create your own lab environment to experiment with Active Directory (AD) for learning or testing?
In this blog, I will walk you through the complete steps to set up an Active Directory environment using Oracle VM VirtualBox, as well as alternative options with free Azure or AWS accounts.
We’ll also cover how to install AD on a Windows Server trial version, configure DNS, add Active Directory Users and Computers, and manage DNS records. By the end, you’ll have a fully functional Active Directory lab.
Setting Up Your Virtual Environment
Option 1: Using Oracle VM VirtualBox

Step 1: Install Oracle VM VirtualBox
First, download and install Oracle VM VirtualBox, a free and open-source virtualization tool that allows you to create virtual machines (VMs).
Step 2: Download Windows Server ISO Trial
You’ll need a trial version of Windows Server. Head over to Microsoft’s Evaluation Center and download the ISO for Windows Server 2022 or any version you want to test with.
Step 3: Create VMs in Oracle VM VirtualBox
For this lab setup, we will create three VMs:
- One for the Active Directory Domain Services (ADDS) and DNS.
- One for a Member Server.
- One for a Windows 11 Client.
Follow the Steps to Install Oracle VM Virtual Box
Steps to Create a VM:
- Open Oracle VM VirtualBox and click New.
- Assign a name for your VM (e.g., “AD-Server”).
- Select Windows 2022 (64-bit) as the version.
- Allocate memory (minimum 2GB RAM) and create a virtual hard disk (minimum 25GB).
- Select the Windows Server ISO file you downloaded and install the server OS.
Repeat these steps for creating the Member Server VM and Client Windows 11 VM.
Note: Make sure all VMs are on the Same Network and should be reachable to each other.
Option 2: Using Cloud Services (Azure or AWS)
- If you prefer cloud-based alternatives, you can set up free accounts on Azure or AWS to create your VMs.

Step 4: Install Active Directory Domain Services (ADDS) and DNS
How to Install Active Directory
Once the VM for your domain controller (AD-Server) is ready:
- Open Server Manager, go to Manage → Add Roles and Features.
- Choose Role-based or Feature-based installation.
- Select your server from the list.
- Under Server Roles, check Active Directory Domain Services (AD DS) and DNS Server.
- Click Next and install the required features.
- After the installation is complete, promote the server to a domain controller by following the post-installation wizard.

- Select Add a new forest and provide a root domain name (e.g.,
mydomain.local). - Configure DNS and choose a forest functional level. Complete the wizard to finish the setup.

Step 5: Install Active Directory Administrative Center
To manage Active Directory users and organizational units (OUs), you need the Active Directory Administrative Center:
- In Server Manager, go to Manage → Add Roles and Features.
- Under Features, select Active Directory Administrative Center and install it.
You can now access it by going to Start → Windows Administrative Tools → Active Directory Administrative Center

More details about the Active Directory Administrative Center
Step 6: Add a Member Server and Client VM to the Domain
Steps for Adding a VM to the Domain:
- Open System Properties on both the Member Server and Client Windows 11 VM.
- Under the Computer Name tab, click Change.
- Select Domain, enter the domain you created (
mydomain.local), and click OK. - You will be prompted to enter your domain administrator credentials.
- Restart both machines after joining the domain.
Step 7: Creating Organizational Units and User Accounts
How to Add Active Directory Users and Computers
You can manage users, computers, and OUs via Active Directory Users and Computers. To do this:
- Open Active Directory Users and Computers from the Tools menu in Server Manager.
- Right-click on your domain, select New → Organizational Unit (OU).
- Create two OUs: Servers and Desktops.
- Move the Member Server into the Servers OU and the Client Windows 11 VM into the Desktops OU by right-clicking each computer, selecting Move, and choosing the respective OU.
- To create a new user, right-click the OU where you want to create the user, select New → User, and follow the prompts.
Step 8: Create a Default Domain Policy with Basic Password Policies
- Open Group Policy Management from the Tools menu.
- Navigate to Default Domain Policy.
- Right-click and select Edit.
- Under Computer Configuration → Policies → Windows Settings → Security Settings → Account Policies, configure Password Policy.
- Set basic password requirements like minimum password length, complexity requirements, and expiration time.

Step 9: DNS Management and Record Creation
In your AD environment, DNS is automatically integrated. However, you may want to manually add or manage DNS records. Here’s how:
- Open DNS Manager from the Tools menu.
- Expand your server and click on Forward Lookup Zones.
- Right-click on your domain (e.g.,
mydomain.local) and select New Host (A or AAAA). - Enter the name and IP address of the machine for which you’re creating a DNS record.
- Click Add Host to complete the process.

Step 10: Install IIS on the Member Server
To install IIS on the Member Server:
- Open Server Manager, go to Manage → Add Roles and Features.
- Select Web Server (IIS) from the list and install it.
- After installation, open IIS Manager from Server Manager to configure the web server.
Step 11: Create Group Managed Service Accounts (gMSA) for IIS
Group Managed Service Accounts (gMSA) are useful for running services like IIS. To create a gMSA:
Also Read: Group Managed Service Accounts (gMSA): Benefits, Creation Steps, and Detailed Guide
- Open Active Directory Administrative Center.
- In the Windows PowerShell, run the following commands to create the gMSA:
New-ADServiceAccount -Name gmsaAccount -DNSHostName iis.mydomain.local -ServicePrincipalNames http://iis.mydomain.local -PrincipalsAllowedToRetrieveManagedPassword ServerOU- Assign the gMSA to the IIS Application Pool:
- Open IIS Manager, and click on Application Pools.
- Right-click the Application Pool, go to Advanced Settings, and set the Identity to the gMSA.
Final Thoughts
Setting up a lab environment for Active Directory in Oracle VM VirtualBox is an excellent way to practice and understand AD features like Active Directory Administrative Center, Active Directory Users and Computers, DNS, and group policies. You can extend this setup to cloud services like Azure or AWS. Whether you’re studying for a certification or building a test environment for your business, this step-by-step guide will set you on the right path.
External Resources:

Whether you’re looking for troubleshooting tips, deep dives into systems architecture, or the latest in cloud computing, At Yourcomputer.in, I’m here to help you navigate the evolving tech landscape. Let’s connect, learn, and grow together!
📧 ravi.chopra1709@gmail.com
- Why should you automate Active Directory cleanup? - 17 June 2025
- Troubleshooting: Unable to Add Instance Failover Group to Azure SQL Managed Instance - 4 March 2025
- 10 Azure Virtual Desktop (AVD) Cost-Optimization Strategies for 2025 💡💰 - 22 February 2025